I have been interested in GPU programming for some time, and was looking to implement some data visualizations/animations that I've done using D3.js, but using GPU acceleration.
This is the first of a series of posts about some dabbling I have been doing in WebGPU to create a particle simulation with collision detection and resolution.
There won't really be any code in this post, it's just an intro to the project and overview of what will be in the other posts.
WebGL Limitations
I've worked with WebGL before, but this time wanted to implement a bit of physics for the simulation, and that's where things got complicated.
I just wanted to try something basic, similar to rectangular collision detection to start off, except with all of the work being done on the GPU.
WebGL has some limitations, and in this case I needed to be able to use compute shaders, which are not available.
Enter: WebGPU
WebGPU supports compute shaders, so that's great!
But one major issue is that WebGPU isn't supported in all browsers at this time.
Since this is a learning exercise, I am not going to worry about compatibility and am using regular Chrome for now.
Why the GPU?
The GPU is a great tool in cases where you can use parallel programming. You might have a function that will run a bunch of times in parallel, for example over a bunch of vertices or a bunch of 'fragments' to determine how to paint each pixel on a screen.
I'm simplifying things here, and am going to assume that you have some knowledge of shader programs and graphics pipelines in general.
Even if you don't, feel free to keep reading because I think the best way to learn things is to jump right in!
SIMD: Single Instruction Multiple Data
A super quick example in Python: this function takes a number and multiplies it by two.
def multiply_by_two(num):
    return num*2
It's similar to when you map a function over an array.
nums = [3,6,3,2,4,5]
multiplied_nums = [multiply_by_two(n) for n in nums]
Except the calculations would happen (mostly) in parallel.
Here's the output.
The GPU mainly shines when you can figure out how to parallelize the work - if you have a lot of sequential work, the CPU is often better suited for the task.
Noob Alert
I have to warn you that I am a total noob at GPU programming, and these posts are mainly to document my learning experience.
If you read any of this and have any tips on how to approach the problems better, I am all ears!
I have a version of this collision detection project working, but I have run into issues.
My issues have been with a couple of algorithms that are sequential in nature, but there are ways to parallelize them.
I will go over all of this in subsequent posts.
Collision Detection + Resolution
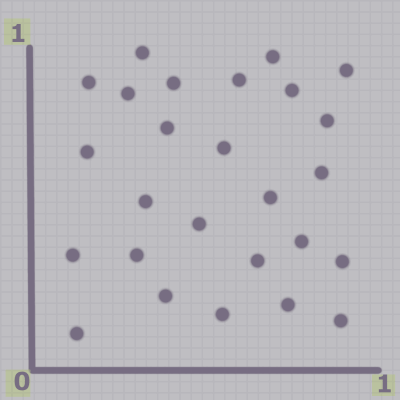
We start off by generating a bunch of random points in range [0,1] for x and y.
Note: for the collision detection part, I am just focusing on 2-D for now to figure out how this whole thing works, but I am otherwise using 3-D coordinates because I plan to "upgrade" later.
These are the steps, and each will be a separate blog post.
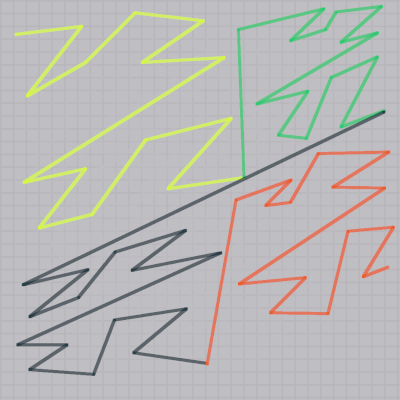
1. Morton Codes
Generate Morton Codes for each point.
This can easily be done in parallel.
2. Sort the Morton Codes
For this part we will:
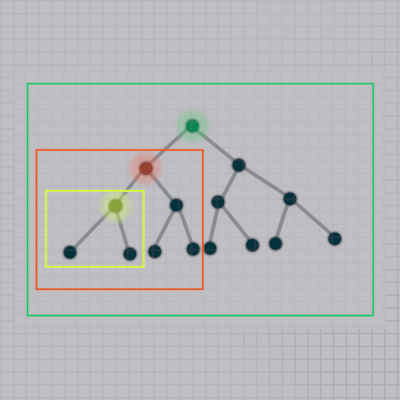
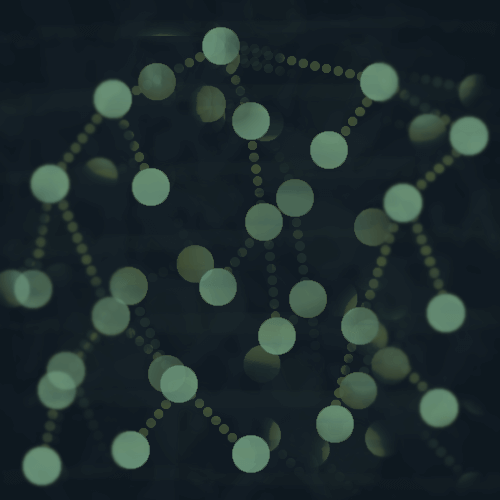
- Build a binary radix tree over the sorted Morton Codes, which creates the hierarchy and partitions the space.
- Generate bounding boxes for each internal node of the tree. This part is a bit tricky for reasons that might have to do with WebGPU. The image above shows the bounding box hierarchy for the left-most two leaf nodes.
4. Detect Collisions and Respond
To check if two points collide, we will use the bounding volume hierarchy to see if any of their bounding boxes collide.
The BVH partitions the space so that we can quickly eliminate points that have no chance of colliding, and avoid comparing each point against all of the others, which could get costly.
We traverse the BVH tree from the root and check to see if they have overlapping bounding boxes. If they do, we get any leaf nodes we come across that might potentially collide.
Then we check any potential collisions to see if they actually collide, and respond to the collision if there is one.
Thanks for reading!
That was a quick intro into this project.
In the next post, we will:
- Set up the basic WebGPU skeleton in JavaScript.
- Generate random points - also in JavaScript.
- Write a compute shader to generate Morton Codes for the points.